

In this guide
Planting a tree in New York City is more forgiving than it looks, and you do not need a green thumb to get it right. Most of the trees that struggle in city yards fail for two reasons: they were planted too deep, or they were never watered properly in their first couple of years. Get those two things right and you are most of the way there! This guide walks you through the whole job, step by step, from choosing the season to the first season of care, and points out the spots where a little help from a landscape maintenance crew pays off.
A young tree planted well in a Brooklyn, Queens, or Bronx yard can give you decades of shade, cooler summers, and real value on your property. The work itself is one solid afternoon. The trick is doing each step in the right order.
Step 1: Pick the Right Time of Year
Timing is the easiest decision to get right, and it sets up everything that follows. In the New York City climate, you have two good windows: early spring, after the ground thaws but before summer heat arrives, and early fall, once the worst heat has broken but with weeks of mild weather left before a hard freeze. Both let the roots settle into cool, moist soil before the tree faces real stress.
For a beginner, fall is often the kinder choice. The weather is forgiving, rain is more reliable, and the tree spends the cool months quietly growing roots rather than fighting to keep leaves alive in July heat. Whatever you do, skip planting in the middle of a summer heat wave or in frozen winter ground.
Did you know?
A newly planted tree puts most of its early energy into roots, not leaves or height. That is why fall and spring planting work so well in the city. The canopy may look like it is doing nothing for a season or two, but under the soil the tree is building the root system that will carry it for the rest of its life. Patience in year one pays off for decades.
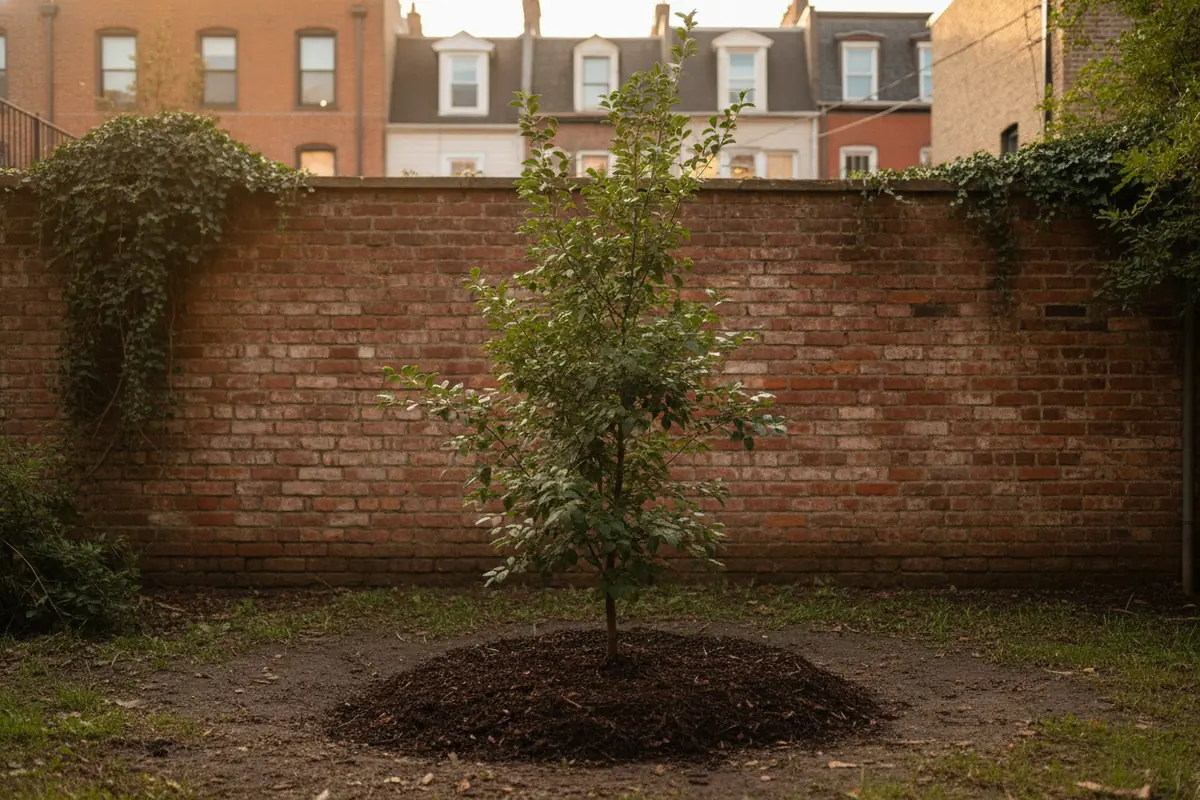
Step 2: Choose the Right Tree for the Spot
The old saying among arborists is right tree, right place, and the Arbor Day Foundation builds an entire approach around it. Before you fall in love with a species, look hard at the spot. How much sun does it get? How much room is there overhead and to the sides for a full-grown canopy? Are there power lines above, or a foundation and pipes below? A tree that is charming at four feet can be a problem at forty.
City yards are tough on trees. The soil is often compacted, road salt drifts in, and root space is tight. Lean toward species that shrug that off: tough urban performers like London plane and honey locust, or native choices like serviceberry, flowering dogwood, and regional oaks and maples that support local wildlife. For a smaller yard, a serviceberry gives you spring flowers without crowding the space.
People often ask: Can I just plant a tree on the sidewalk in front of my house?
Not on your own. The trees in sidewalk tree pits are street trees, and those are managed by NYC Parks. You cannot plant one yourself, but you can request one from the city for the pit in front of your home. This guide is about planting on your own private property, where the choice of tree and the digging are up to you.
Step 3: Check the Rules and the Soil
Before the shovel comes out, sort out two things: where you are allowed to dig, and what you are digging into. On your own property you generally do not need a permit to plant a tree. The rules change near the sidewalk, where NYC Parks manages street tree planting. If you want a tree in the public pit out front, you request a street tree from the city rather than planting it yourself. For anything close to the curb, confirm the property line first.
Then look at your soil. Dig a small test hole and see how the water drains, and whether the dirt is loose loam or heavy, compacted clay. NYC yards often carry construction fill and compaction that roots struggle to penetrate. You do not need to replace the soil, but loosening a wide area and mixing in some compost helps young roots spread. If you have a tree pit on or near public property, the city permit rules for street trees apply, and tree permit services can handle that paperwork for you.
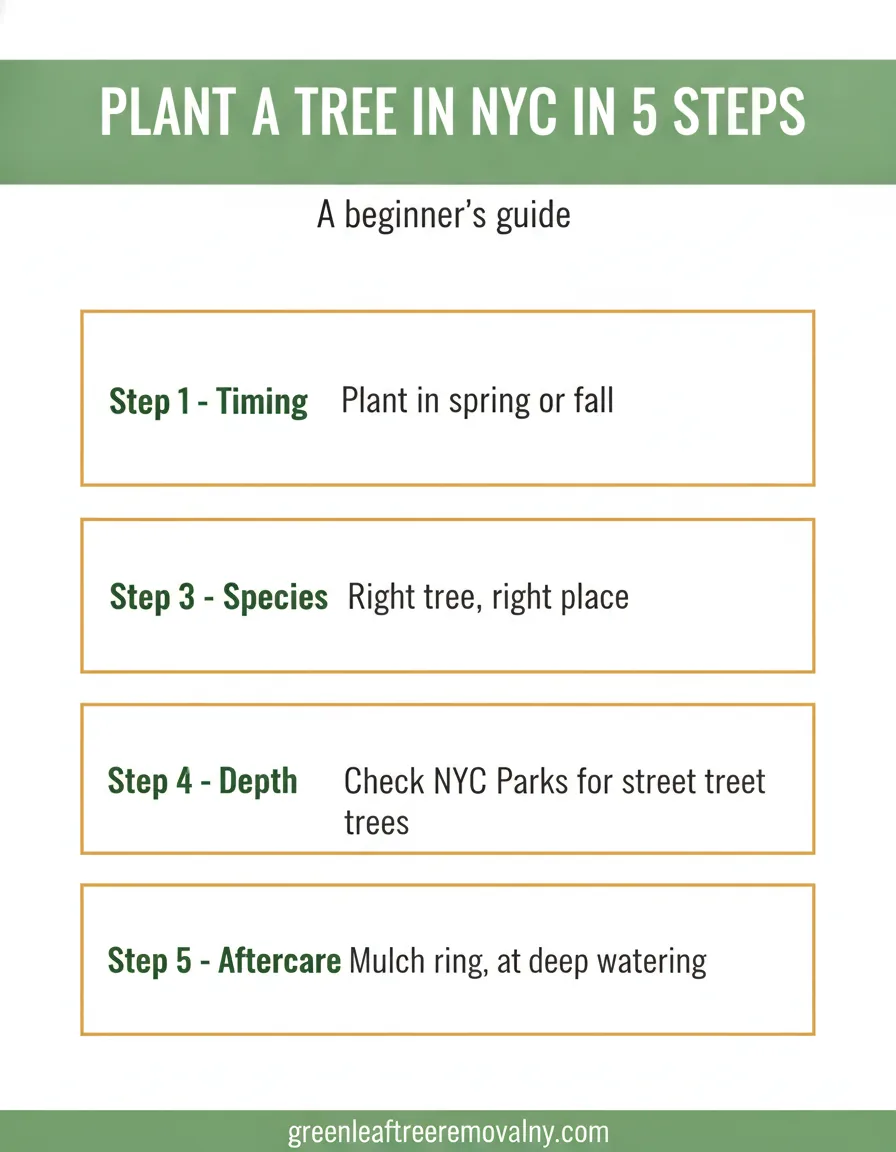
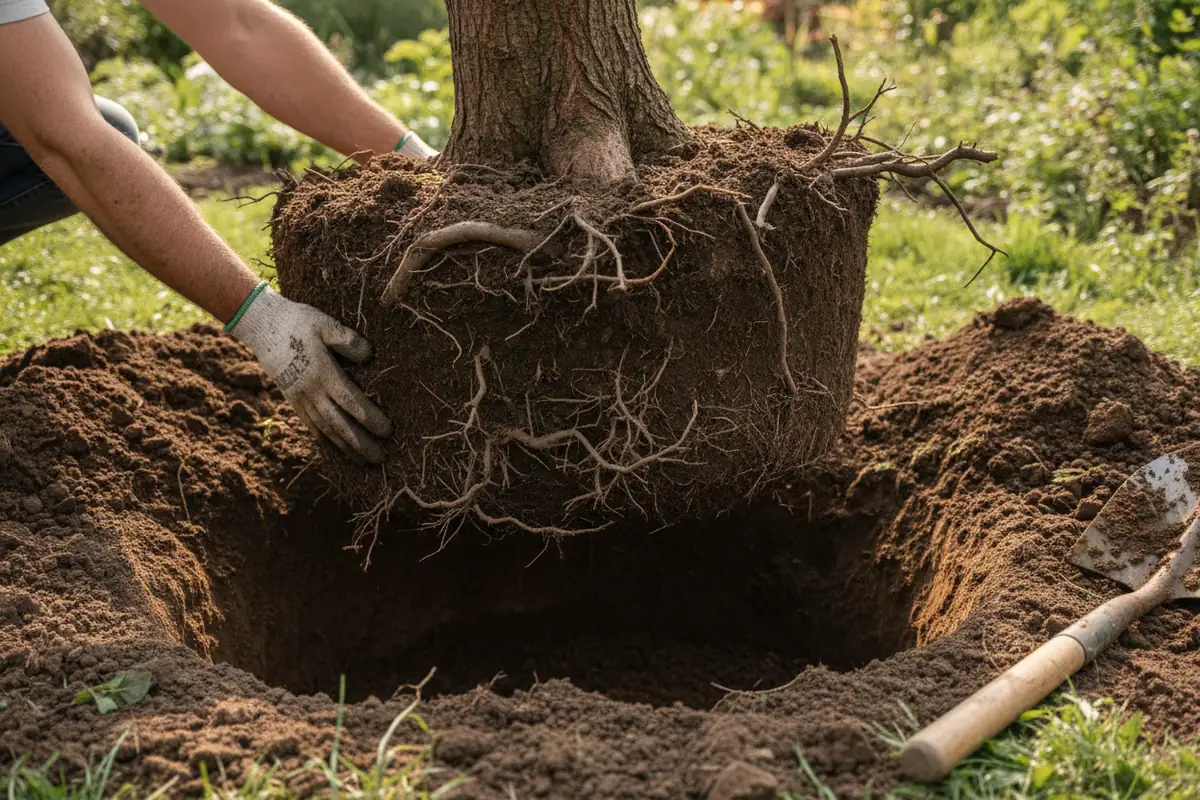
Step 4: Dig and Plant it to the Right Depth
This is the step that makes or breaks the whole project, and the International Society of Arboriculture is blunt about it: the most common cause of young tree death is planting too deep. Take it slowly here.
- Find the root flare. That is where the trunk widens and the first roots spread out. If it is buried in the nursery pot, scrape away the extra soil until you can see it.
- Dig a wide, shallow hole. Make it only as deep as the root ball and two to three times as wide, with sloped sides. Wide beats deep every time.
- Set the flare at or just above grade. The root flare should sit level with or slightly above the surrounding soil, never below it. When in doubt, plant a little high.
- Loosen the roots. Gently tease apart circling or matted roots so they grow outward into the new soil instead of strangling the trunk.
- Backfill and firm gently. Fill with the loosened native soil, settle it with water rather than stomping, and skip piling soil up against the trunk.
Resist the urge to stake the tree unless it is in a very windy spot or top-heavy. A little movement actually helps the trunk grow strong, and if you do stake, keep it loose and remove the stakes after the first year.
Step 5: Mulch, Water, and Follow-up
The planting is done, but the most important part for survival is the next two to three years. This is where most beginners either succeed or quietly lose the tree, and it comes down to mulch and water.
- Mulch in a ring, not a volcano. Spread two to four inches of mulch in a wide ring, kept a few inches back from the trunk. Mulch piled against the bark traps moisture and rot.
- Water deeply and regularly. Soak the root ball every few days at first, then once or twice a week through the growing season, more in heat. Slow deep soakings beat quick sprinkles.
- Hold off on fertilizer. A newly planted tree does not need a feeding push. Good soil, mulch, and water do the work in the first year.
- Watch and adjust. Keep an eye out for wilting, pests, or a leaning trunk, and ease off watering in the cool months so the roots are not sitting wet.
- Prune lightly, later. Leave most pruning until the tree is established. Once it is, light, well-timed tree pruning shapes a strong structure.
If a tree ever outgrows its spot, leans toward the house, or simply does not thrive, that is the moment to bring in a professional for a tree risk assessment or, if needed, a planned tree removal. But plant it well today and the odds are you will be enjoying its shade long before any of that comes up.
Please note: This article is general guidance only. Planting on your own property is usually permit-free, but street trees and anything in a public sidewalk tree pit are managed by NYC Parks, and a permit from NYC Parks is required for planting, pruning, or removing them. Work on large trees or near power lines should be left to a professional. GreenLeaf Tree Care is not liable for outcomes from actions taken based on this content. Always confirm property lines and city rules before you dig.
Download the free quick guide
Save this as a PDF to keep on hand.
Plant a Tree in NYC Checklist (PDF)FAQs
Sources and references
- NYC Parks – Street tree planting
- NYC Parks – Request a street tree
- International Society of Arboriculture – Planting a tree (Trees Are Good)
- Arbor Day Foundation – Right tree, right place